Customer
The Customer form is used to describe complete customer data. This customer data will be displayed on the sales transaction forms. To open this form, direct your pointer to the sub-menu Static Data/Distribution Menu/ Customer and click. You will get a form like in image 3.2.1.
Customer General
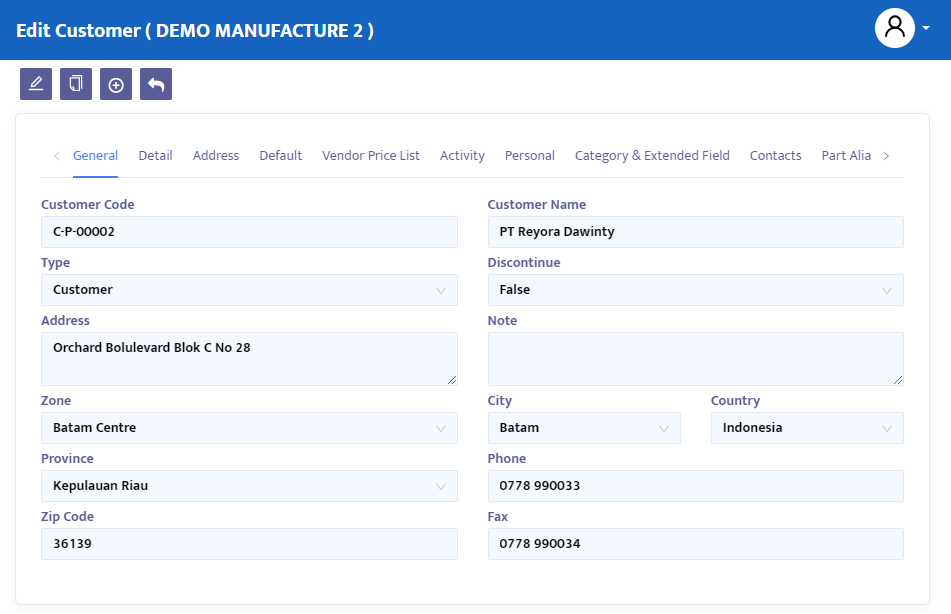
In the General tab (image 3.2.1a), register your customer's general data.
- In the Code field, type the desired Customer code or leave it blank, and the system will automatically provide the registered Customer code.
- In the Type combo box, select "Customer/Supplier" if your customer's status is both a customer and a supplier for your company, or select "Customer" if the status is only as a customer.
- In the Name field, type the name of the customer to be registered in the system.
- In the Discontinue combo box, false indicates the data is still active. Change the status to True to discontinue the data.
- In the Address field, type the complete address of your customer.
- In the Zone combo box, select the location/area of the concerned address. To register a zone, double-click the zone combo box.
- In the Province combo box, select your customer's company province.
- In the City & Country combo box, select the city and country of domicile for your customer's company.
- In the Phone and Fax fields, type the phone and fax numbers of your customer's company.
- In the Note field, type additional information if needed.
- Press the Save button to save the created data.
Customer Detail
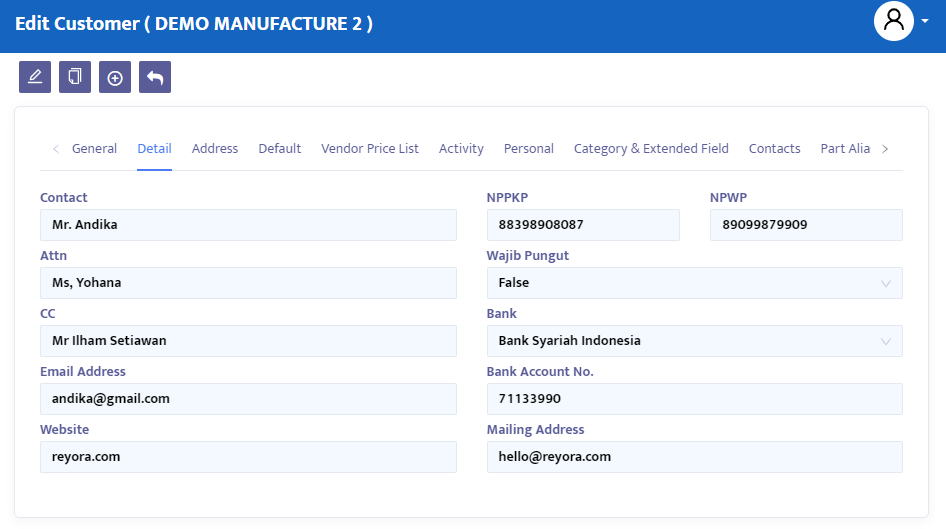
In the Detail tab (image 3.2.1b), register detailed information about the Customer. Direct your pointer to the detail tab and click. You will move to the following form:
- In the Contact field, type the contact person of the registered Customer.
- In the Attn field, type the Attention of the registered Customer.
- In the CC field, type the CC of the registered Customer.
- In the Email Address and Website fields, type the email address and website.
- In the NPPKP field, type the Taxable Entrepreneur Confirmation Number.
- In the NPWP field, type the Taxpayer Identification Number.
- In the Mandatory Levy combo box, select true for Customers with mandatory levy status. Select false for non-mandatory levy Customers.
- In the Bank Account No. field, type the Customer's Bank Account number.
- In the Mailing Address field, type the Customer's mailing address.
- Press the Save button to save the data.
Customer Address
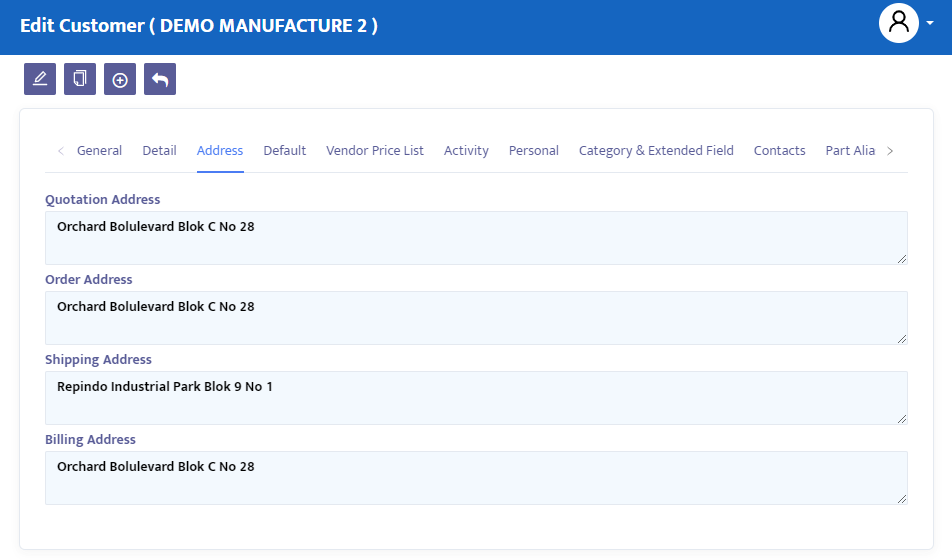
In the Address tab (figure 3.2.1c), register detailed information about the customer's address and the addresses related to shipping. Direct your pointer to the address tab and click, you will move to the following form:
- In the quotation address field, enter the customer's quotation address. This address will be the default address when you fill in the Sales Quotation form for the concerned customer later.
- In the order address field, enter the customer's order address. This address will be the default address when you fill in the Purchase Order form for the concerned customer later.
- In the shipping address field, enter your company's delivery address. This address will be the default delivery to when you fill in the Receive Delivery Order form for the concerned customer later.
- In the billing address field, enter your company's invoice billing address.
Customer Default
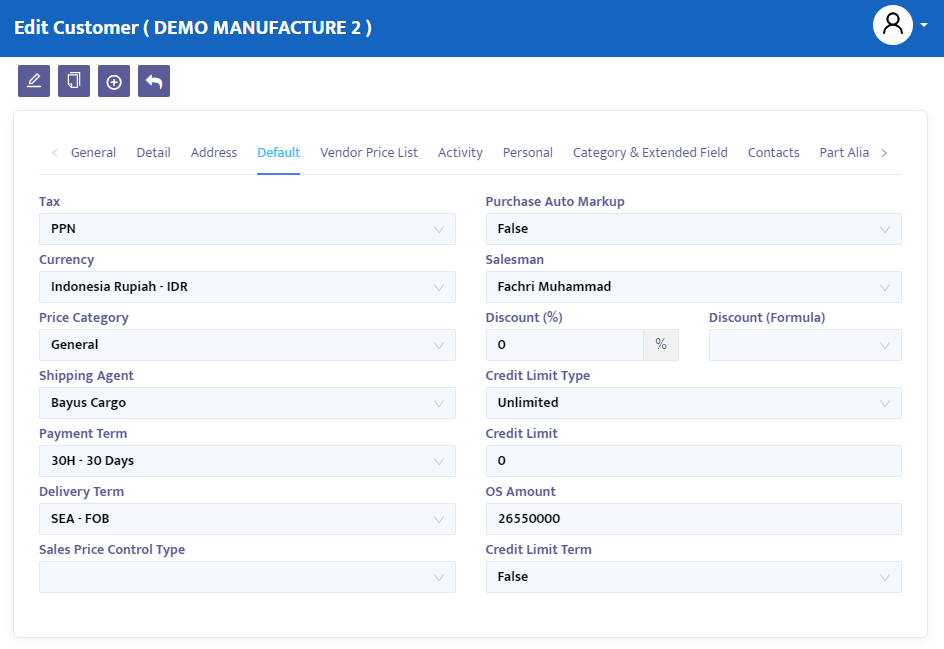
In the Default tab (figure 3.2.1d), register supplementary information usually displayed during the purchasing process. This information relates to taxes, currencies, shipping agents, etc. The default tab will make it easier for you to complete customer information during the purchasing process, because when you select a registered customer, the system will display the previously registered default standard. Direct your pointer to the default tab and click, you will move to the following form:
- In the Tax combo box, select the type of tax applied to parts frequently purchased from the customer.
- In the Currency combo box, select the currency type of the country you often use in transactions with the customer.
- In the Price Category combo box, select the price categorization for parts to be purchased from the customer.
- In the Shipping Agent combo box, select the shipping agent for the concerned customer if necessary.
- In the Payment Term combo box, select the method or term of payment determined by the customer.
- In the Delivery Term combo box, select the transportation method usually used.
- In the Purchaser combo box, select your company's employee who usually deals with the customer.
- In the Discount field, enter the discount usually given by the customer.
- In the Discount (Formula) field, click the button on the field to create a tiered discount formula.
Customer Activity
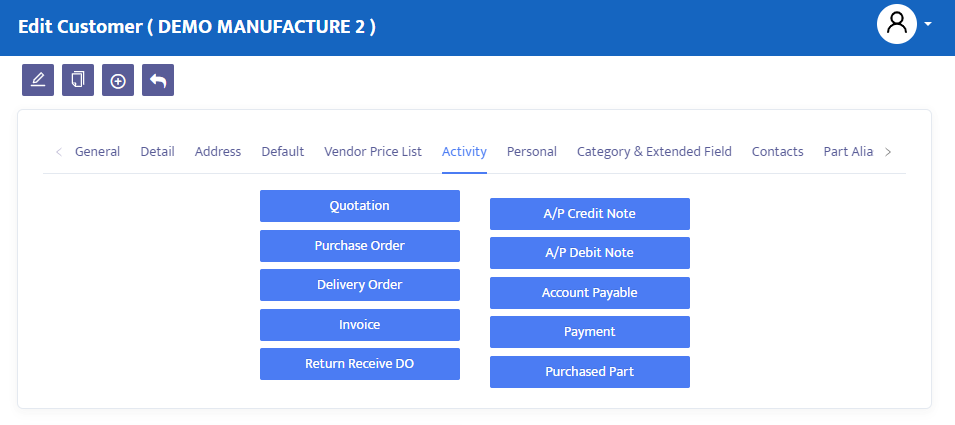
In the Activity tab, you can view the history of incoming and outgoing items such as quotations, purchase orders, delivery orders, and others based on the transaction types available. Direct your pointer to the Activity tab and click, you will move to the following form (figure 3.2.1e).
Customer Category
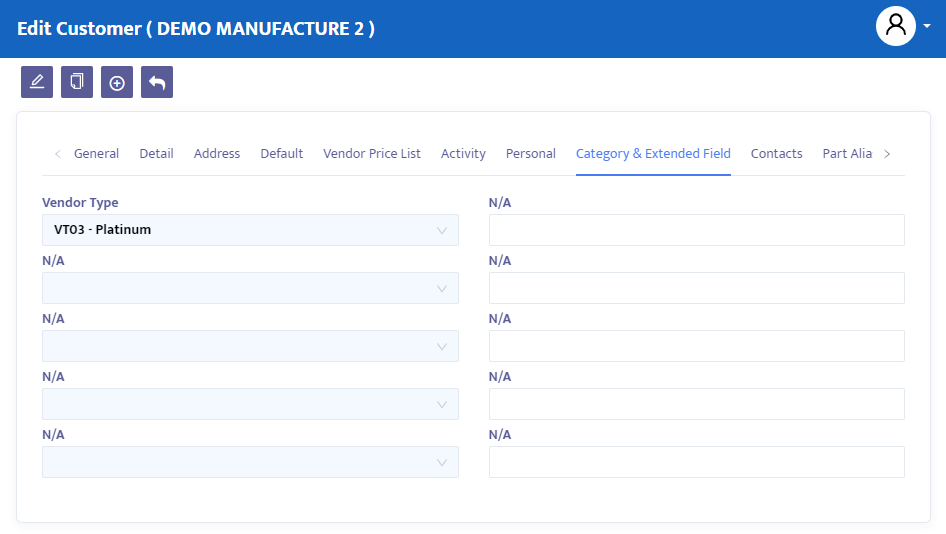
In the Category & Extended Field tab (figure 3.2.1f), you can complete more detailed information related to the customer's company type, group, and additional fields.