Payment Plan List
The Payment Plan List is a financial management tool used to organize and manage structured payments over a specified period. This list details how a company will make payments, often in contexts such as purchasing goods or services on credit, loan repayments, or installment plans for vehicles or properties.
Features of Payment Plan List in Soficloud:
Soficloud enhances the Payment Plan List module with features for managing one or more payments, which can be grouped for approval by stakeholders as a prerequisite for processing payments.
Setup
To record the Payment Plan List module, select the Account Payable menu and then click on the Payment Plan List menu as shown in Figure 5.1:
Steps to Complete the Payment Plan List Module:
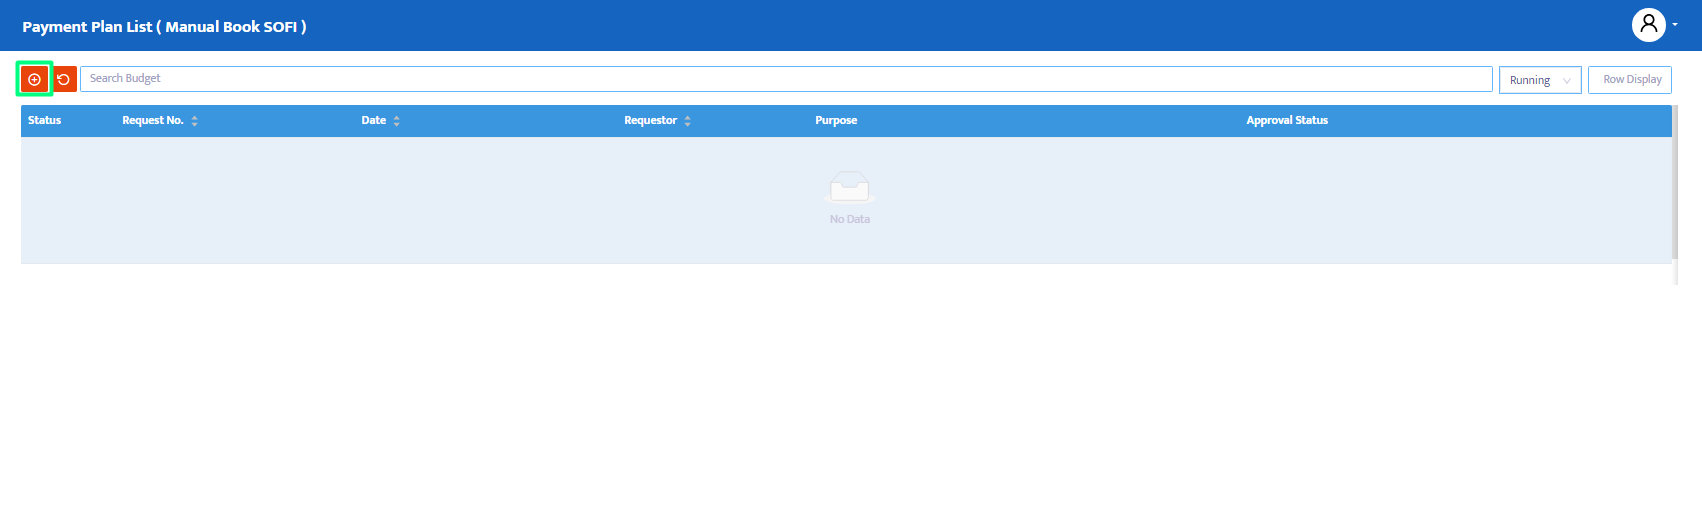
- Click the entry button to begin filling in the Payment Plan List module, as shown in Figure 1.2:
- The system will display the Payment Plan List module, which you can complete, as shown in Figure 1.3:
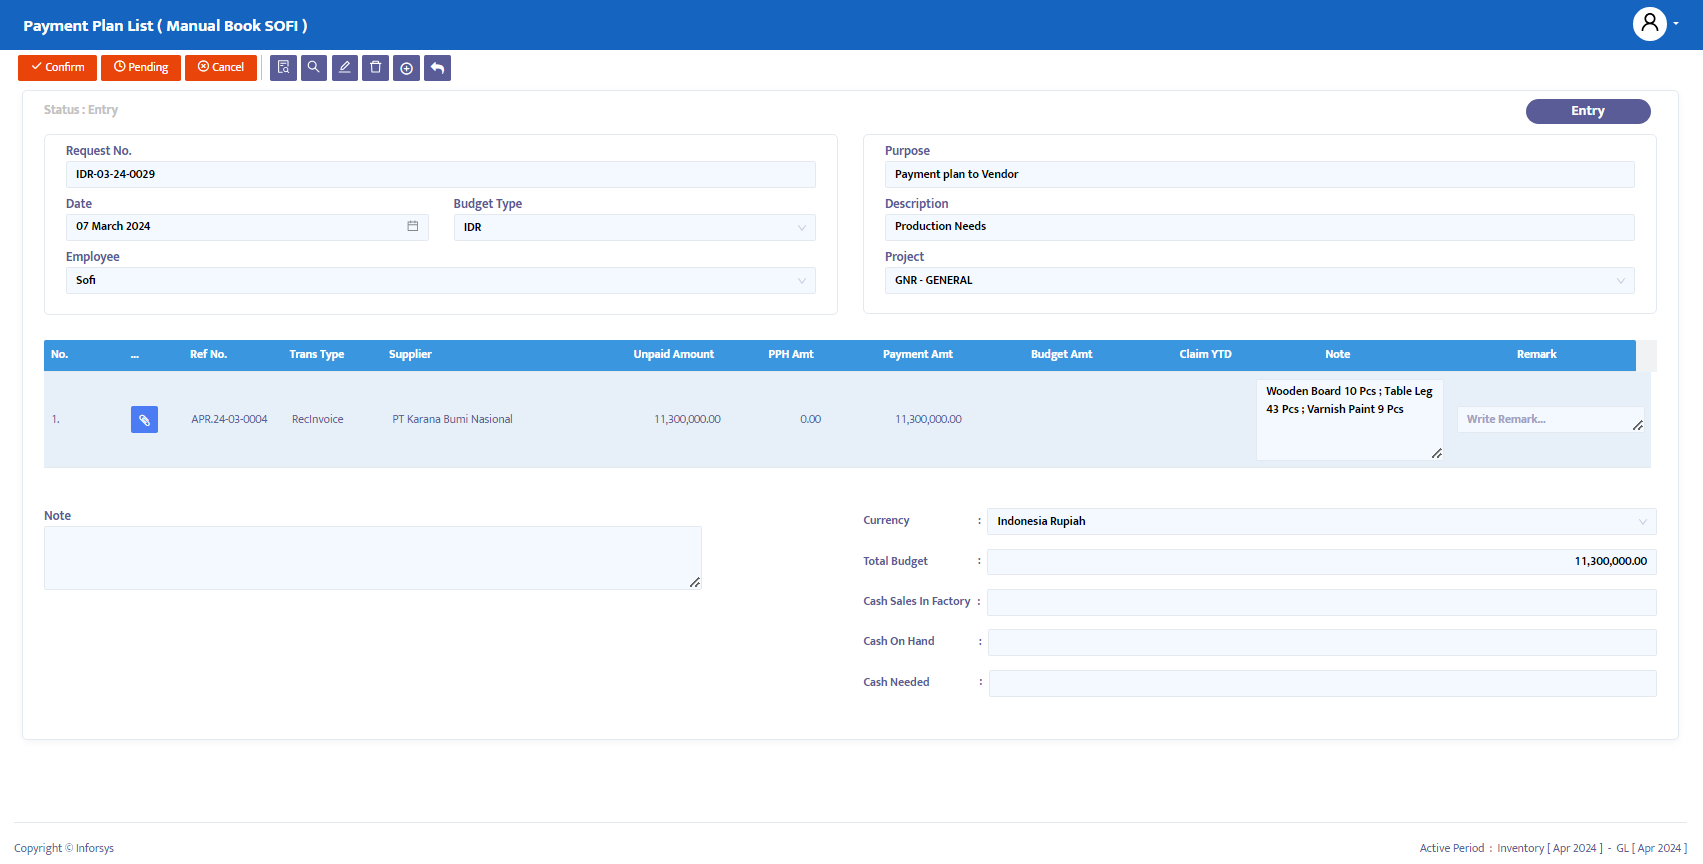
Steps to Complete the Payment Plan List Form:
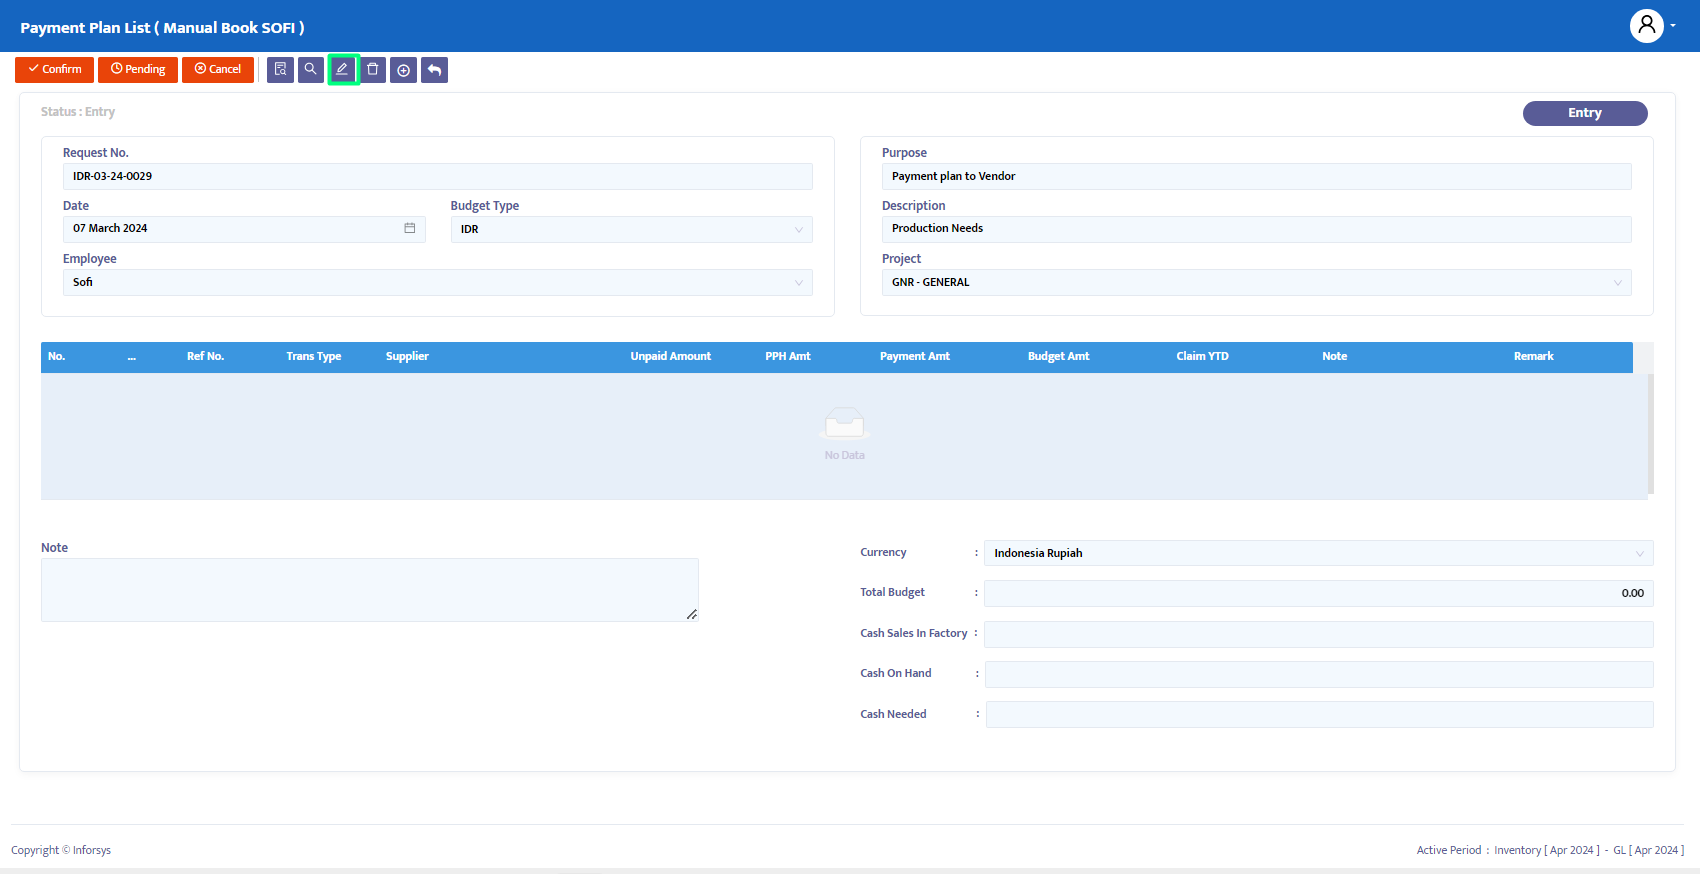
Field Request No: The system will automatically generate a request number, but you can edit it according to company standards or needs.
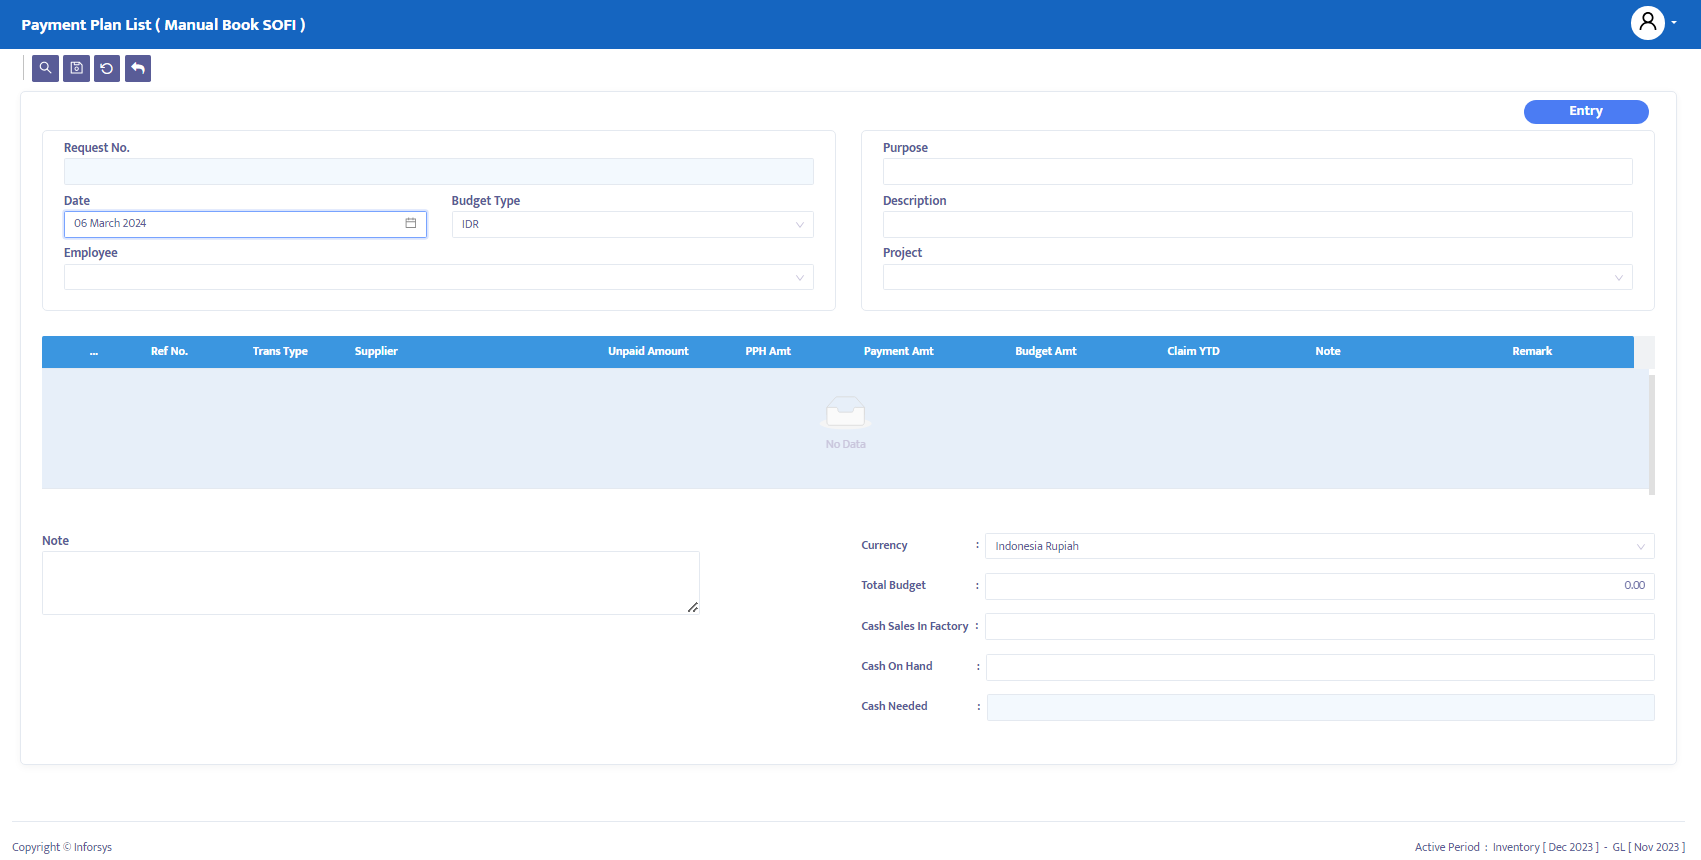
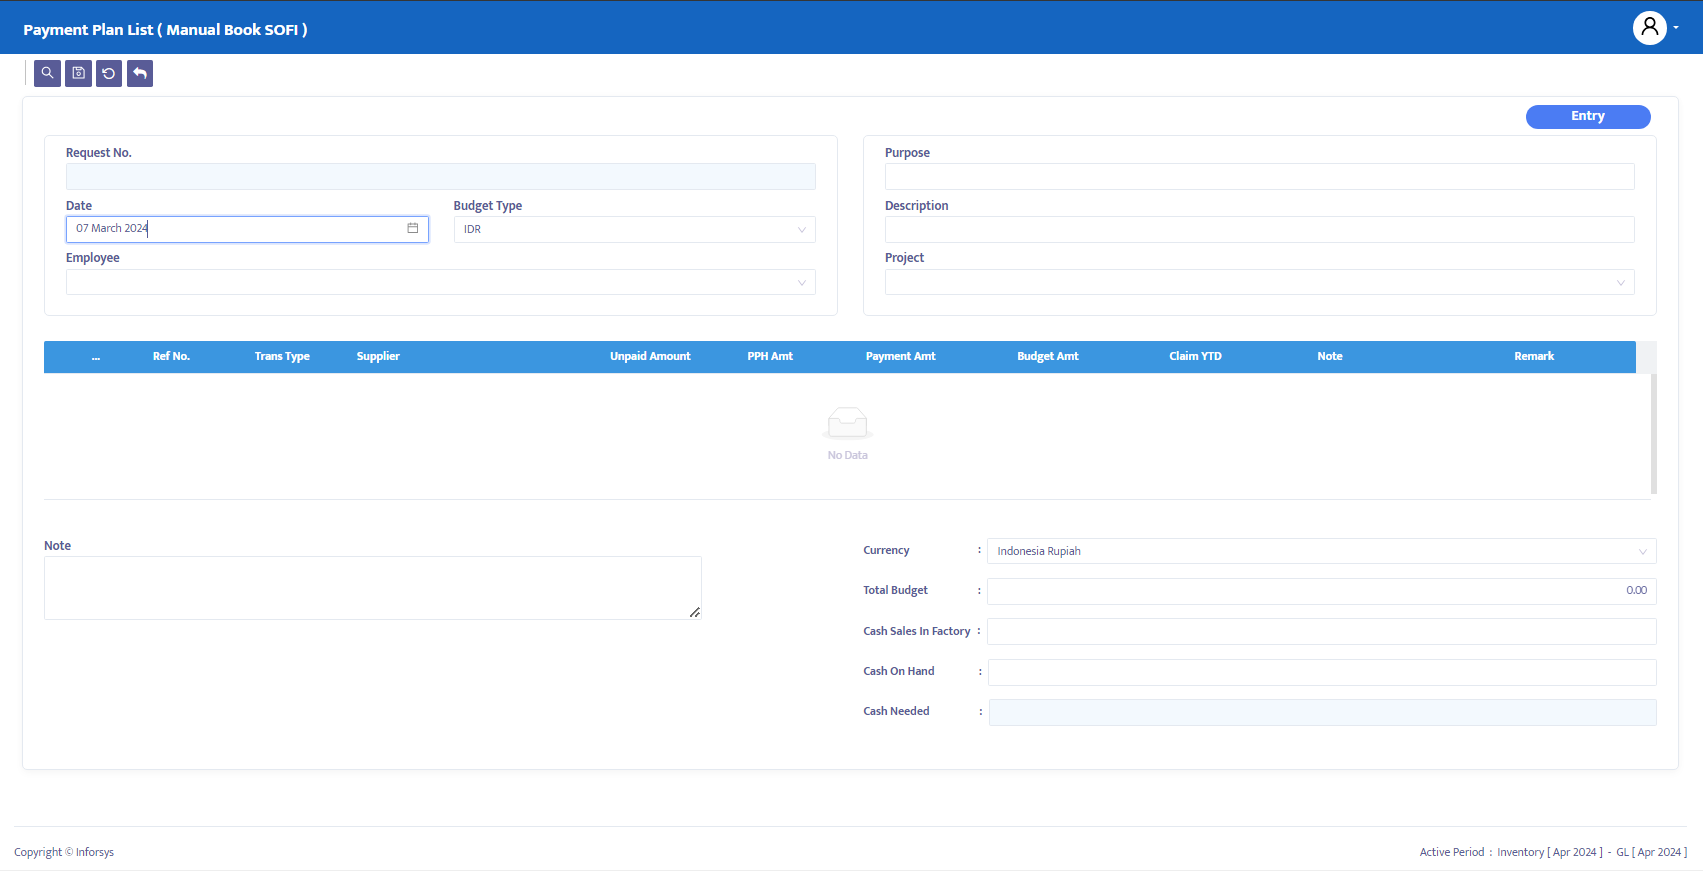
Field Date: The system will default to the current date from your computer, but you can edit this date as needed.
Combo Box Budget Type: Select the currency type that matches your requirements.
Combo Box Employee: Select the employee creating the Payment Plan List.
Field Purpose: Enter the purpose of creating the Payment Plan List.
Field Description: Enter a description for the Payment Plan List.
Combo Box Project: Select the project associated with the Payment Plan List transaction.
- Click the save button to save the Payment Plan List form, as shown in Figure 1.4:
- Next, click the edit button as shown in Figure 1.5, and click the add item button in the Payment Plan List module you have opened as shown in Figure 1.6:
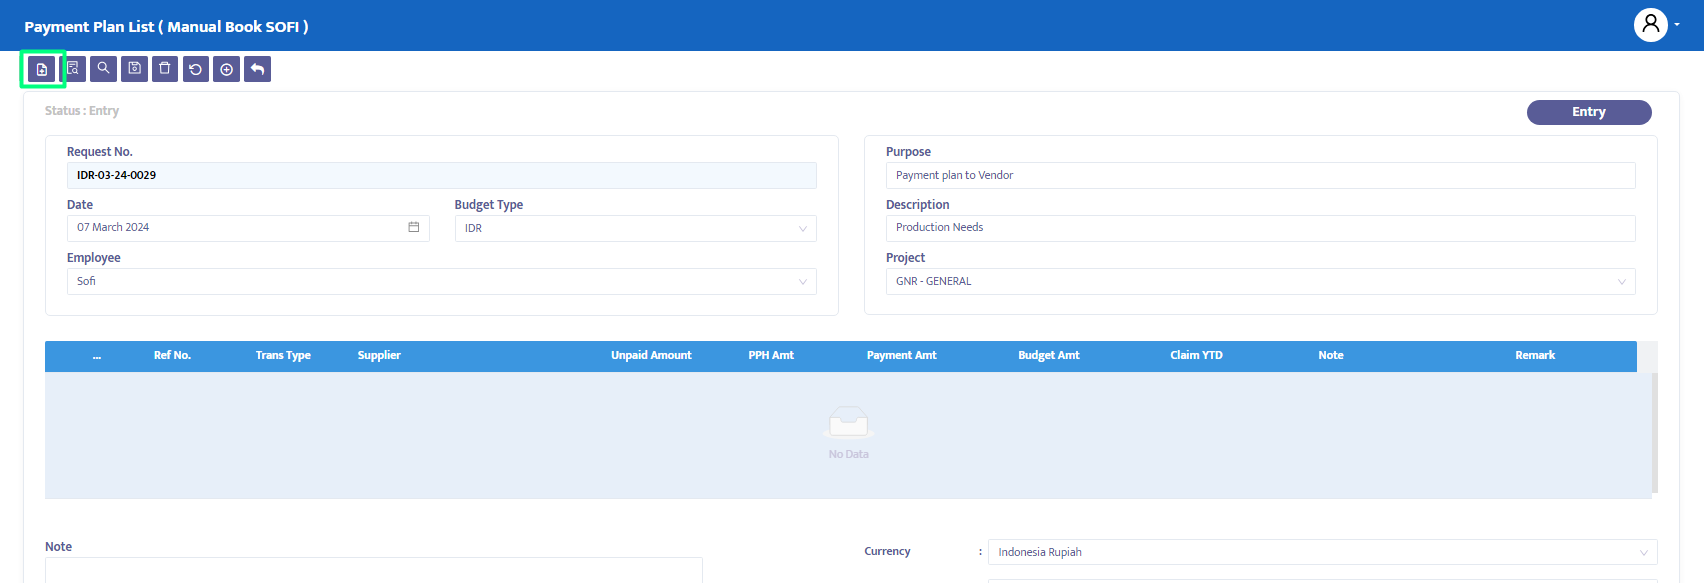
- The system will then display a list of supplier invoices and account payables that are unpaid, as shown in Figure 1.7. Select the transaction data you want to input into the Payment Plan List for payment approval. The system will automatically transfer all transaction information into the Payment Plan List.

- After completing the data, the system will automatically display the selected transaction, as shown in Figure 5.8:
Attachment: Displays documents or evidence related to the Request for Payment, Supplier Invoice, and Account Payable directly linked to the Payment Plan List.
Ref No.: Contains the transaction number you selected.
Trans Type: Contains the type of transaction you selected.
Supplier: Contains the supplier for the selected Invoice or Account Payable.
Unpaid Amount: Displays the unpaid amount for the selected transaction.
PPh Amt: Displays the income tax amount for the selected transaction.
Payment Amt: Contains the amount you wish to pay to the Supplier.
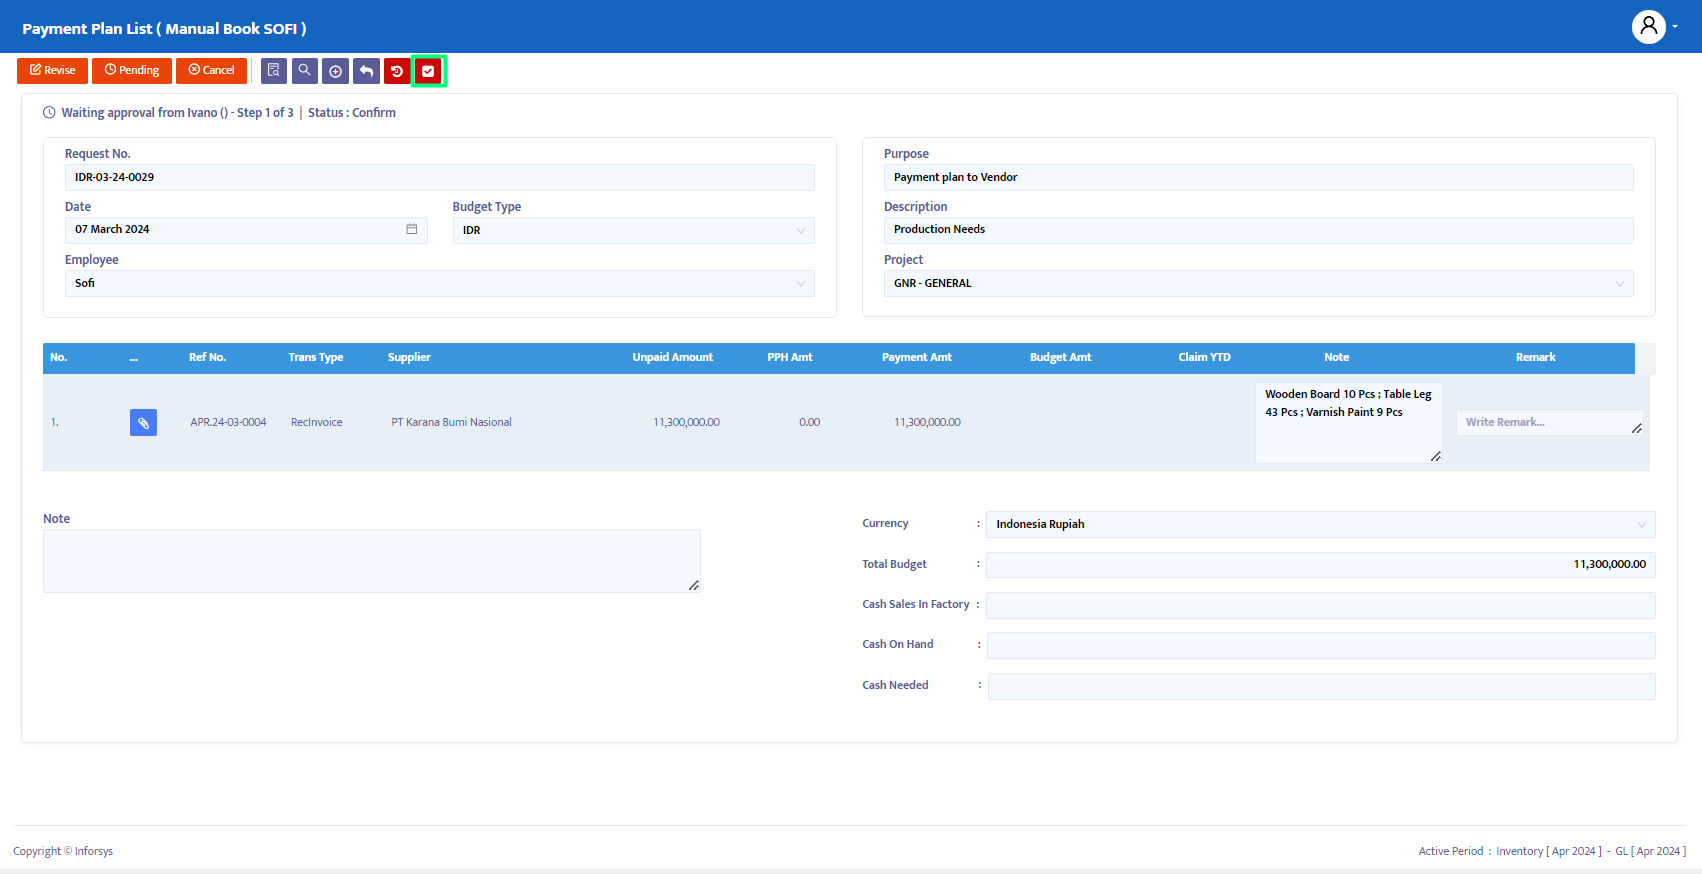
Transaction Status Changes:
Use the navigation button at the top of the transaction to change the necessary transaction status. The system provides the following options:
Entry: The transaction data is still being registered in the system. Data can still be edited and deleted at this status.
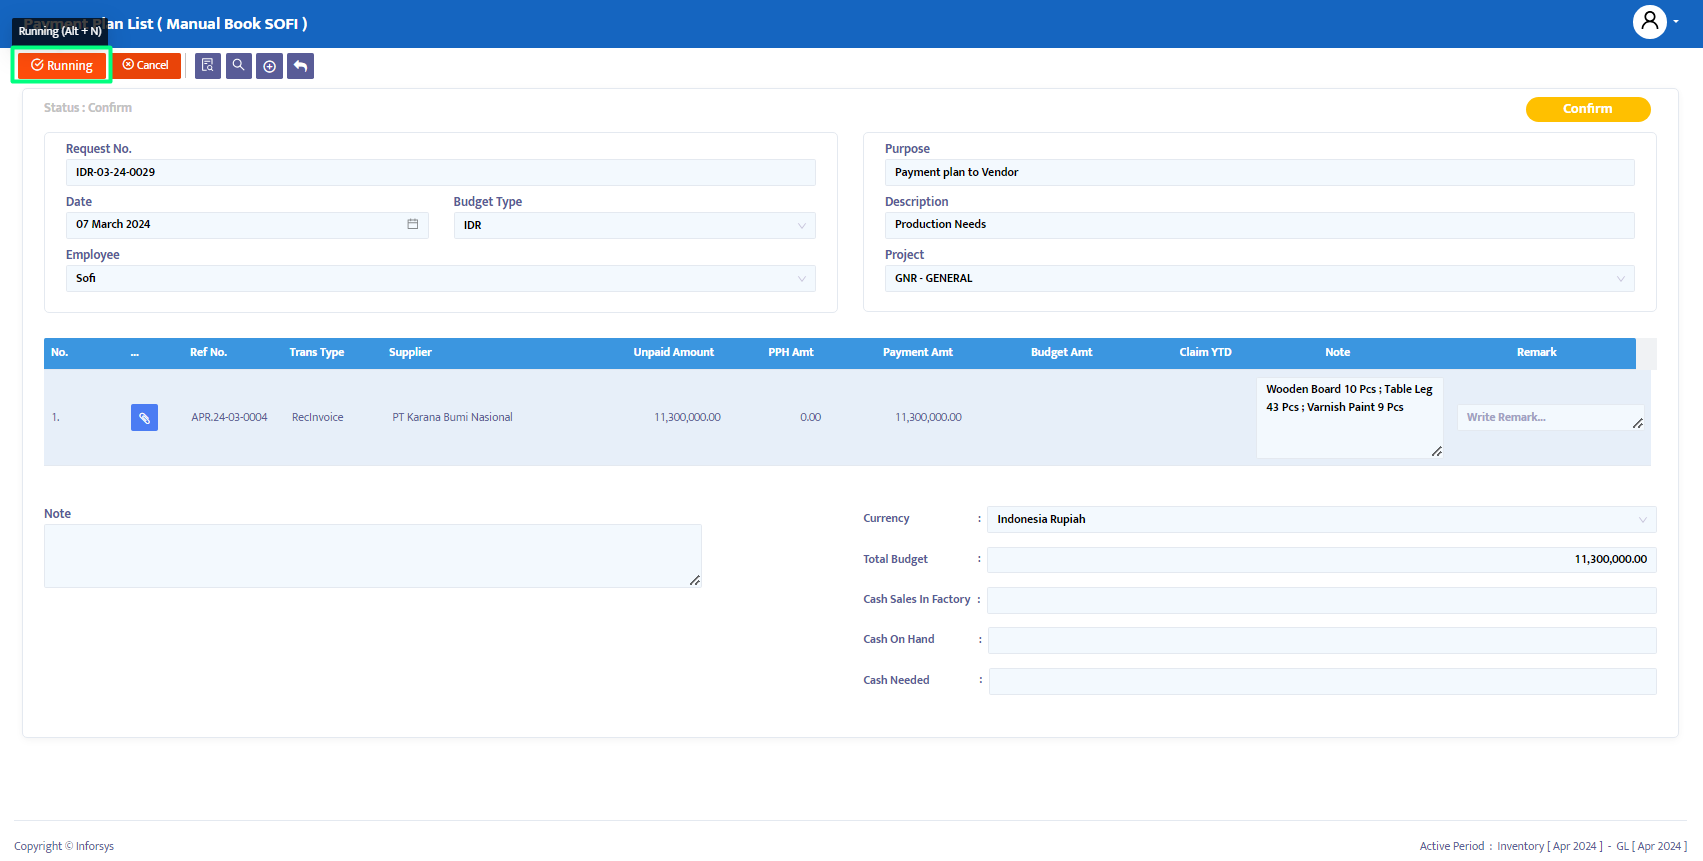
Confirm: The transaction data is confirmed in the system but not yet posted. Data cannot be edited unless the Confirm status is first changed to Revise.
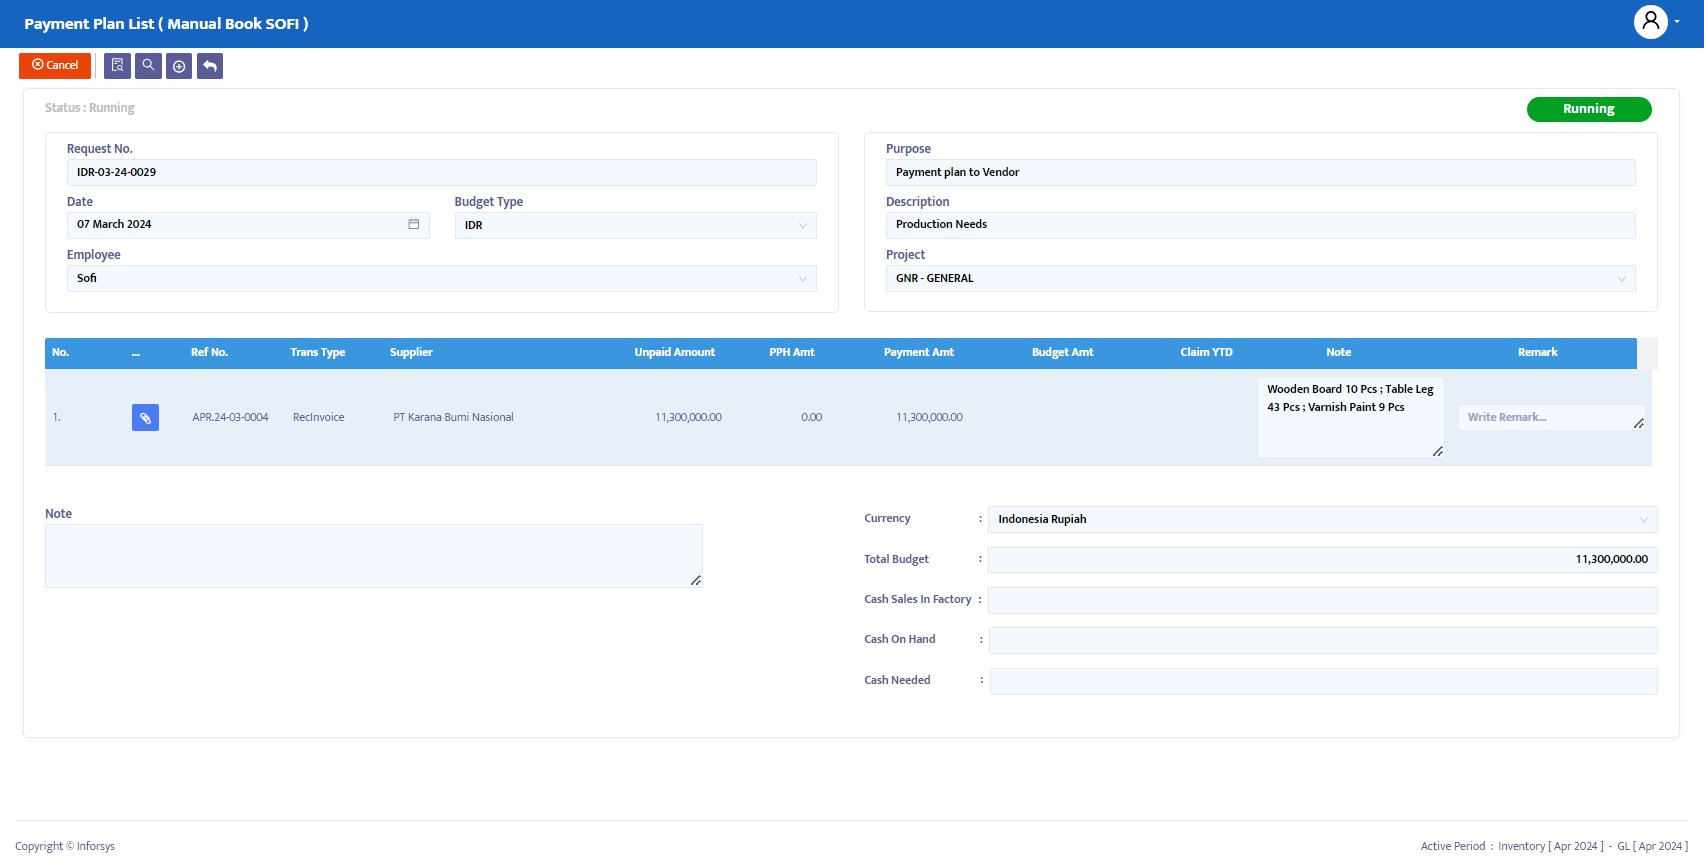
Running: The transaction data is posted in the system. This status is applied after Confirm. If you do not use Running status, you cannot proceed to the next form. To edit data, the Running status must first be changed to Revise.
Revise: This status is only used to edit data but cannot delete or remove all transaction data on this form.
Pending: The transaction form is temporarily closed but can be reopened to continue the process.
Cancel: The transaction form is canceled and cannot be reopened.
Change the Entry status to Confirm to confirm the Payment Plan List form.
Once the Payment Plan List status is confirmed, the stakeholders defined in the setup module will receive an email for approval.
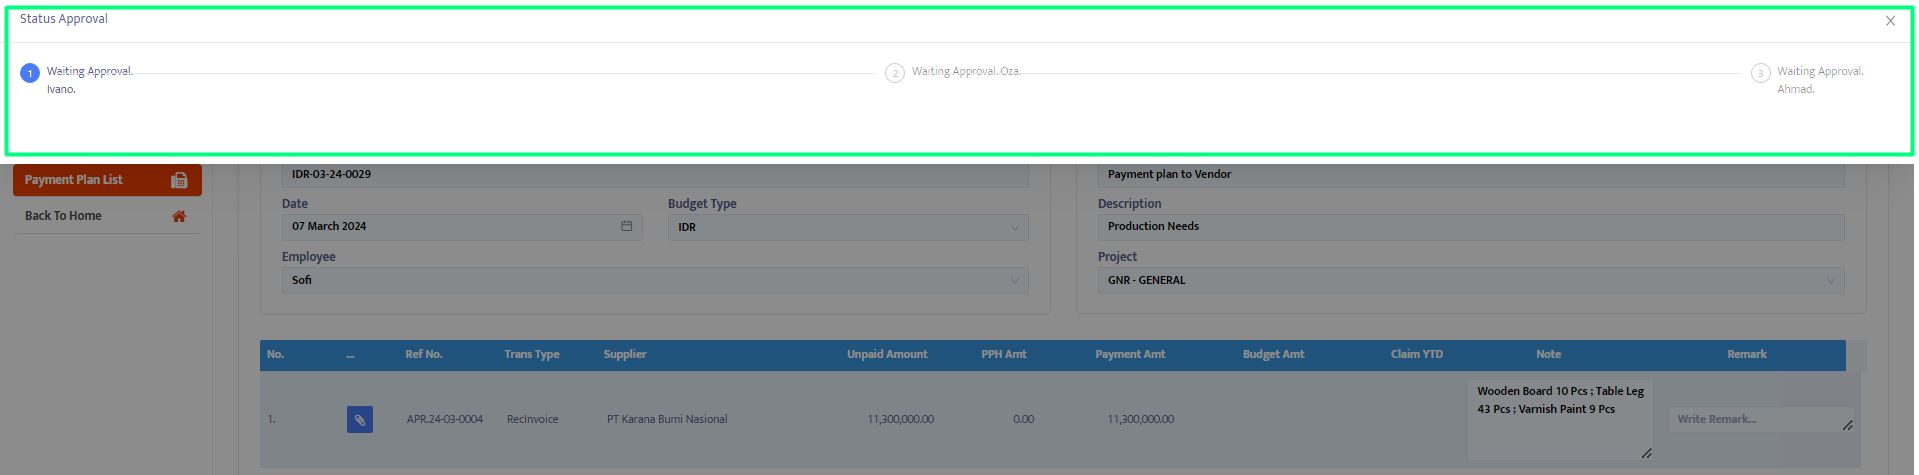
The approval status can be viewed by clicking the Status Approval button, as shown in Figure 1.9, with an example of the approval status displayed in Figure 1.10.
- Stakeholders can approve or reject the transactions to be paid. If the approve/reject button is clicked on the navigation button, it will automatically approve/reject all transactions as shown in Figure 1.11.
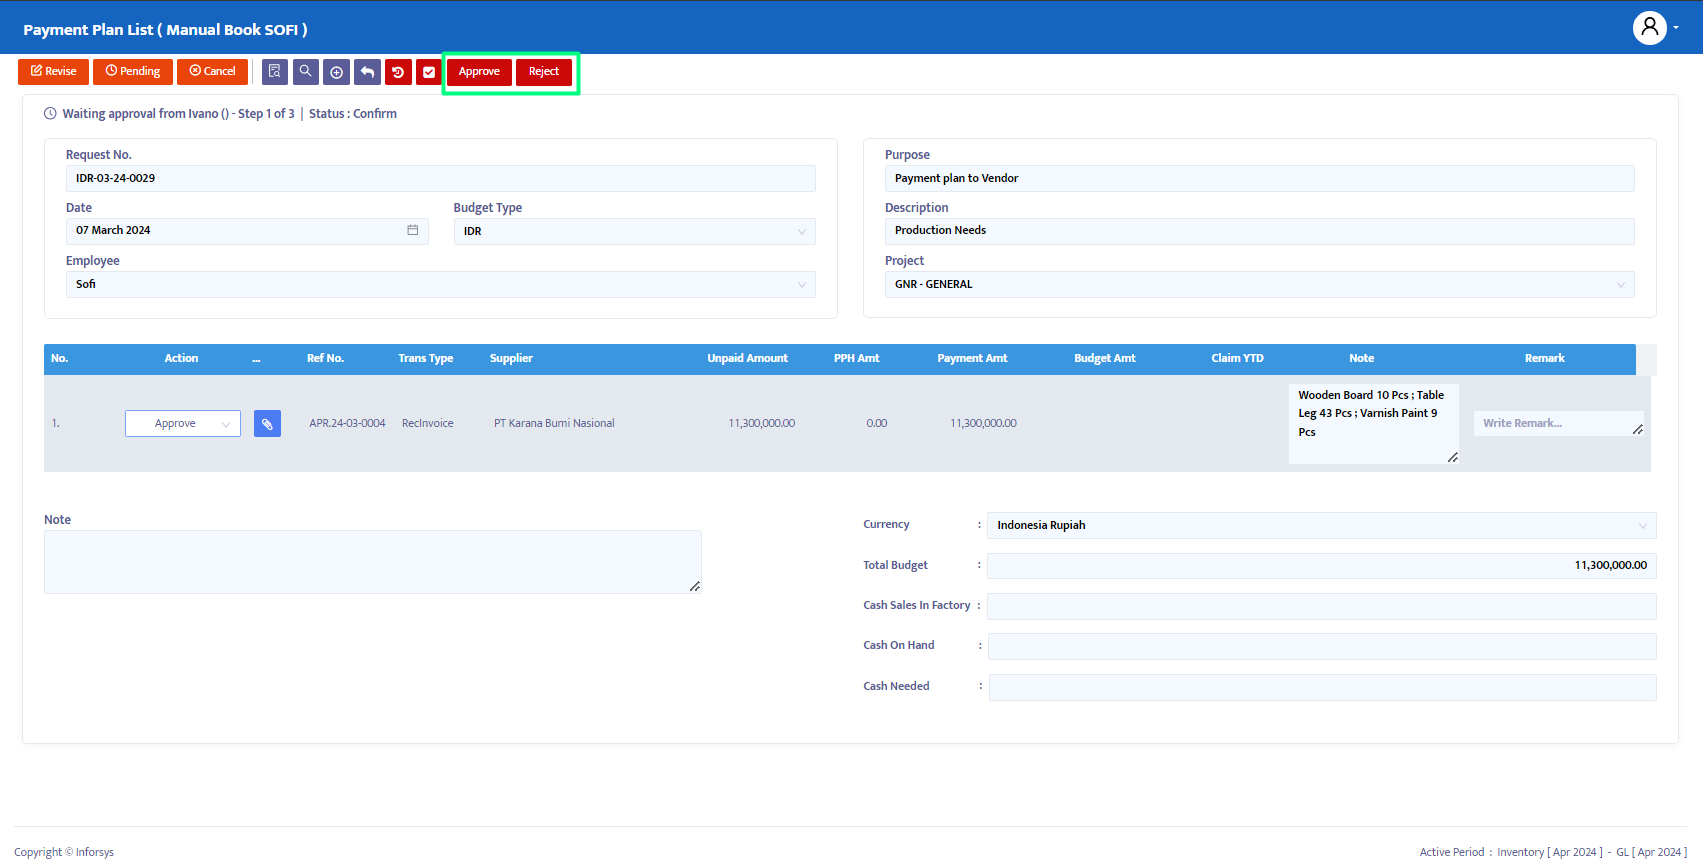
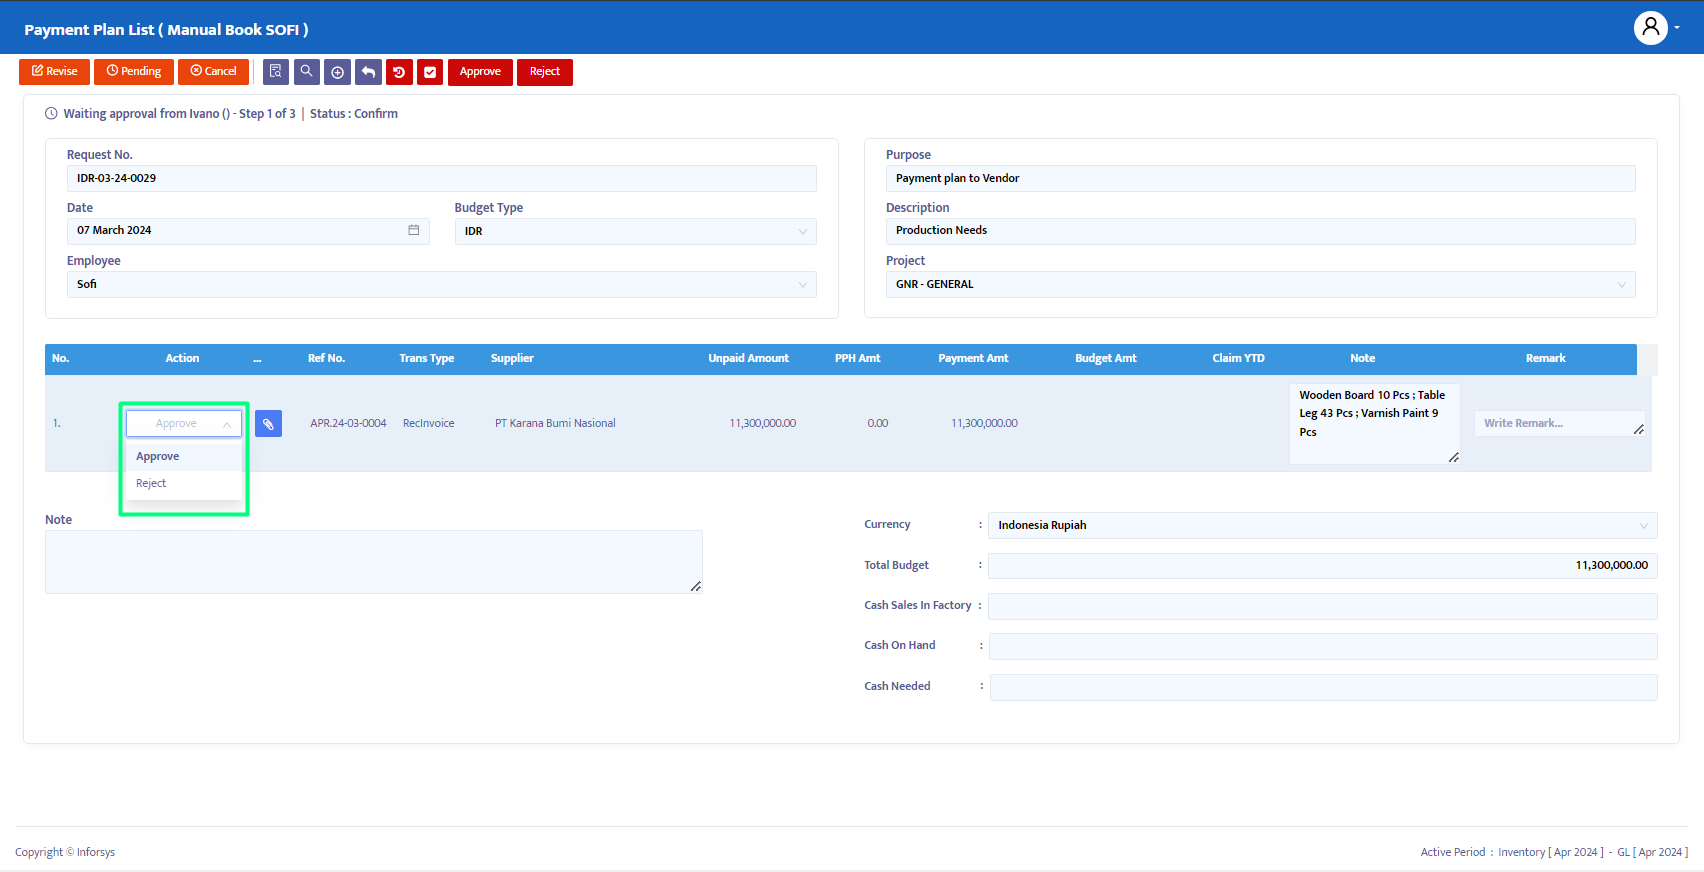
- If you want to reject a specific transaction and approve another, you can click the approve/reject button in the transaction detail column as shown in Figure 1.12.
- Once the approval status is completed, the Payment Plan List form status can be changed to Running, as shown in Figure 1.13. The process can then proceed to the Billing Payment module for payment.