Purchase Requisition
A Purchase Requisition is an internal company document used by company employees to inform the department manager about the items they need for company activities. The Department Manager can then approve or revise the request for the approved type of goods and the quantity of goods.
The PR document can be used to prevent double ordering or orders outside the expected specifications. Furthermore, the PR is used as a basis to request a Price Quotation from the Supplier (RFQ) to then proceed to the process of issuing a Purchase Order.
Setup
To record Purchase Requisition transactions, select the Procurement menu then click the Purchase Requisition menu. The system will display the PR transaction menu as in figure 5.1.1
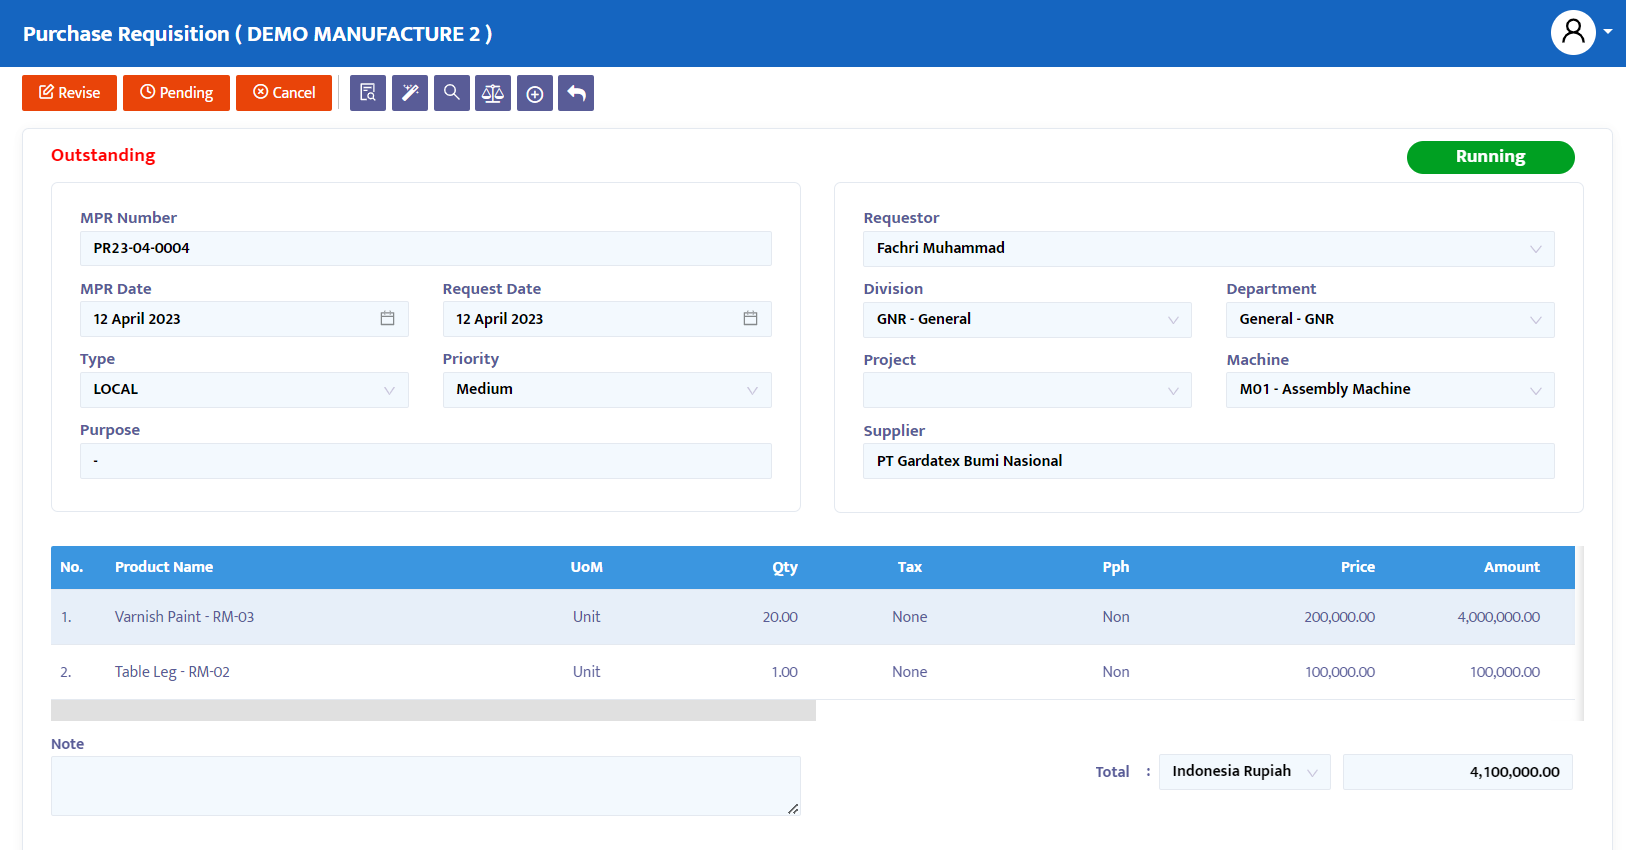
The following are the steps to complete the Purchase Requisition transaction:
In the MPR No field, the system will automatically provide numbering, but you can still edit it according to your needs or company standards.
In the Date field, the system will provide a date that matches the date on your computer when this form is opened. But you can edit the date of this Purchase Request form as per your needs.
In the Request Date field, enter the date of need for the product ordered. The system will provide a date that matches the date on your computer when this form is opened. Change the date if necessary.
In the Type combo box, select the type of Purchase Request required. You can define the type or type of PR that the company needs.
In the Priority combo box, select the required priority level. The system provides Low, Medium, or High Priority options.
In the Supplier combo box, select the name of the supplier that has been previously registered in the Static Data menu.
In the Contact field, type the name of the person (contact person) from the supplier company responsible for the purchase order submitted.
In the Requestor combo box, select the name of your employee who needs the order.
In the Division combo box, select the division responsible for this order if your company allocates by division.
In the Department combo box, select the name of the department responsible for this order if your company allocates by department.
In the Project combo box, select the project related to the requested transaction.
In the Machine combo box, include the name of the machine if the order is related to a specific machine requirement. Ignore if not relevant.
In the Supplier combo box, select the desired supplier. Leave it blank if it is not necessary to include a supplier choice.
After completing the data, the system will automatically display the product filling selection column. Fill in the product according to your needs:
- Product, search for the product name or code from the list of products you have previously registered
- Quantity, fill in the quantity of the product you want to order
- Price, is optional. Fill in if necessary, and leave blank if not necessary
- Request Date, type the specific date of the need for the item. This request date field serves to provide more specific product need information
- Click Add Product when finished. Then the system will enter the product you have chosen into the transaction details
- Make a new selection for other products you need, then click the Add Product button to add it to the transaction detail list
In the transaction details section, there are some additional information you need to understand as follows:
- Tax, by default will display the tax data that will be applied to the transaction according to the setup determined for the concerned product in the master part
- PPh, like the above VAT Tax, the system will also activate PPh deduction if the related product is subject to a certain PPh rate
- Amount, displays the total qty x price
- PO Qty, will inform you of the Qty of the related product that has been ordered or its PO document
- O/S PO, displays how much qty of goods have not yet been ordered or its PO
- GRN Qty, will inform you of the Qty of the related product that has been received by the company or its DO document from the related Supplier
- O/S GRN, displays the Qty of goods that have not yet been received by the company
- Note, make a more detailed and specific note on the Note feature for each product you order.
Once finished, click the Save button at the top of the transaction to save the data.
On the navigation button above the transaction, make the necessary transaction status changes. The choices provided by the system are:
- Entry, still in the process of registering PR form transaction data into the system. In this status, data can still be edited and deleted.
- Confirm, the transaction data is confirmed to the system but not yet posted. In this status, data cannot be edited unless the Confirm status is first changed to the Revise status.
- Running, the transaction data is posted into the system. This status is run after the Confirm status, if you do not use the Running status then you will not be able to proceed to the next form (in this case the PO form). Just like the Confirm status, to edit data the Running status must first be changed to the Revise status.
- Revise, this status is used only for editing data but cannot delete/remove (all) transaction data on this form.
- Pending, the transaction form is temporarily closed with the intention of postponing. This status can still be opened to be continued. If from the PR form you have continued to open the PO form, GRN, and Supplier Invoice and you give the Pending status to the PR form, then the PO transaction form, GRN/Receive Invoice/Receipt will also be postponed (postpone).
- Cancel, the transaction form is cancelled and cannot be reopened.
- Close, all transaction forms are closed and cannot be reopened.
Change the Entry status to Confirm, then Running to post this transaction and use the wizard feature if you want to continue to the next form, but you can also use the manual method (add item) on the next transaction in this case the Purchase Order.
To display the transaction document, click the Preview button.