Packing List Outgoing
The Packing List Outgoing is a document used in the shipping process to record and identify the details of the items being shipped. This document is typically prepared by the sender or seller and included with the shipment to the receiver or buyer.
The Packing List Outgoing is used to facilitate the receiving and management of goods by the recipient, customs, and transportation companies. Additionally, this document can be used for cost calculation, shipment tracking, and accounting purposes. Ensure that you check the requirements and format applicable in your country or under relevant international trade agreements when preparing the packing list outgoing.
Setup
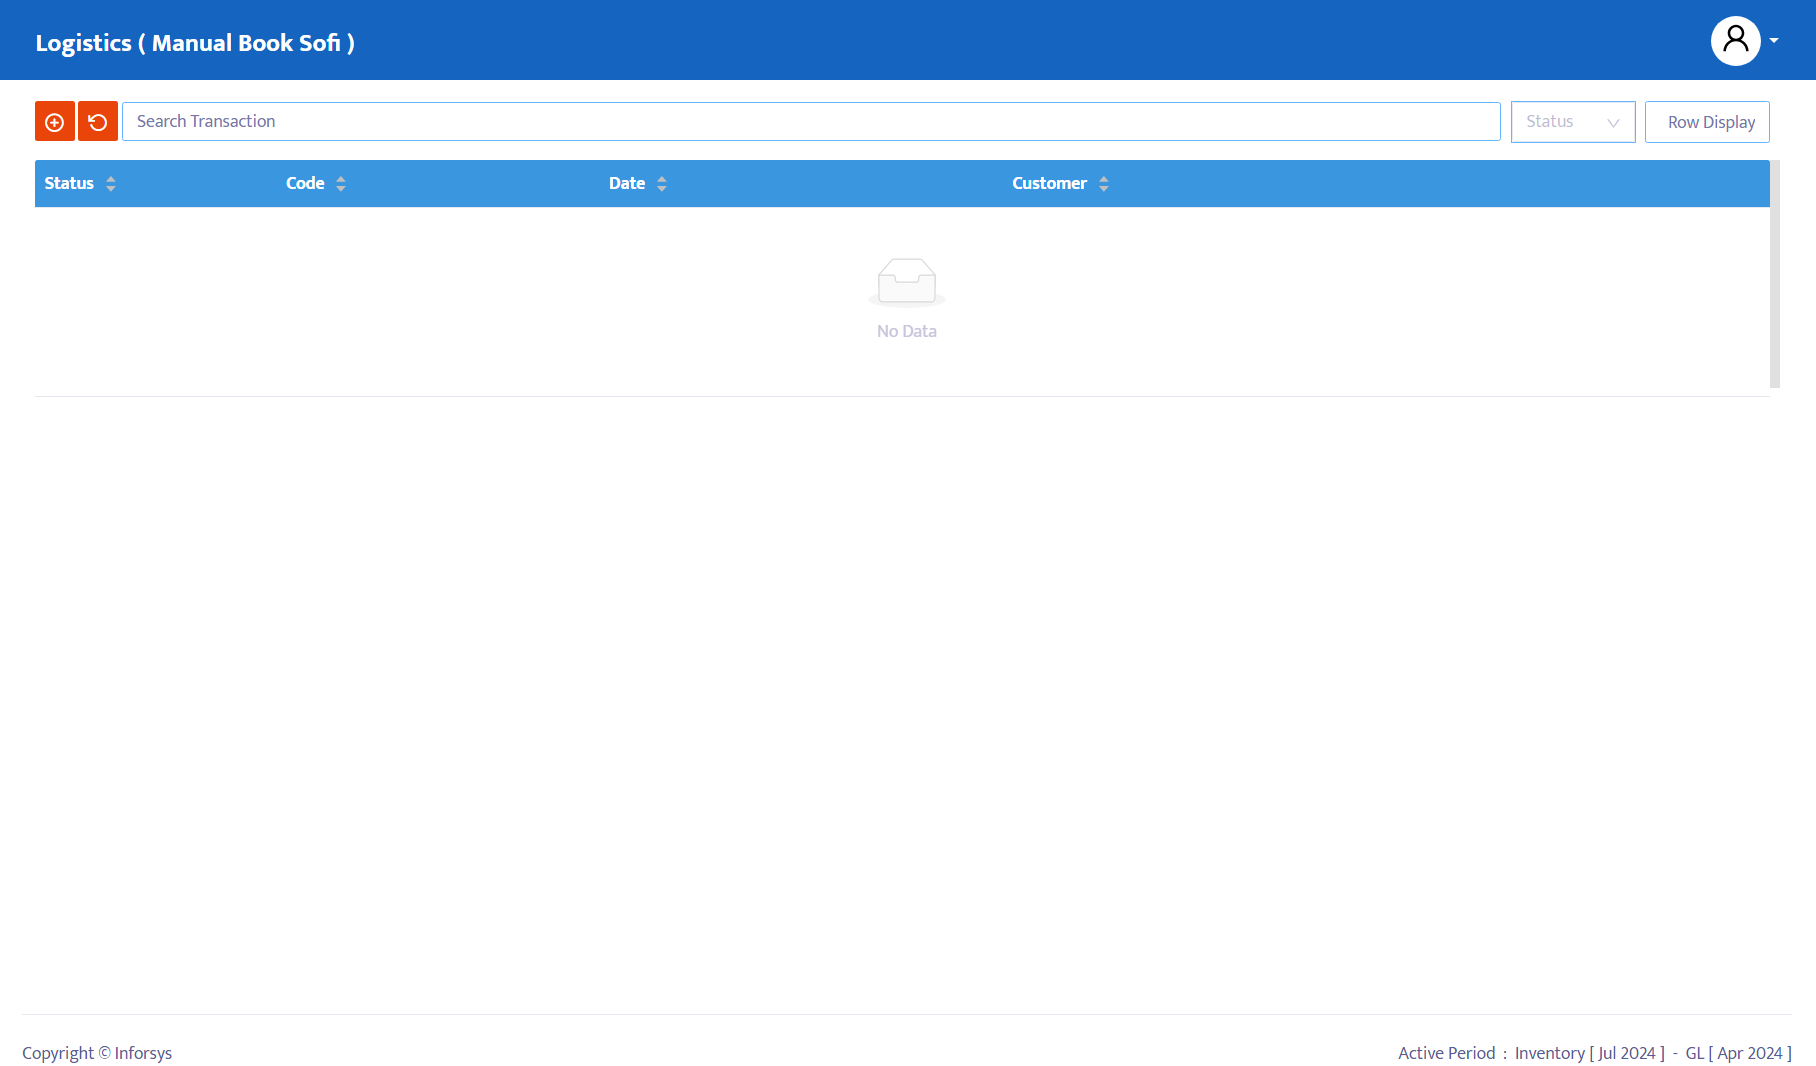
To record the Packing List Outgoing module, select the sales menu, then click the Packing List Outgoing menu as shown in Figure 1:
Here are the steps to complete the Packing List Outgoing module:
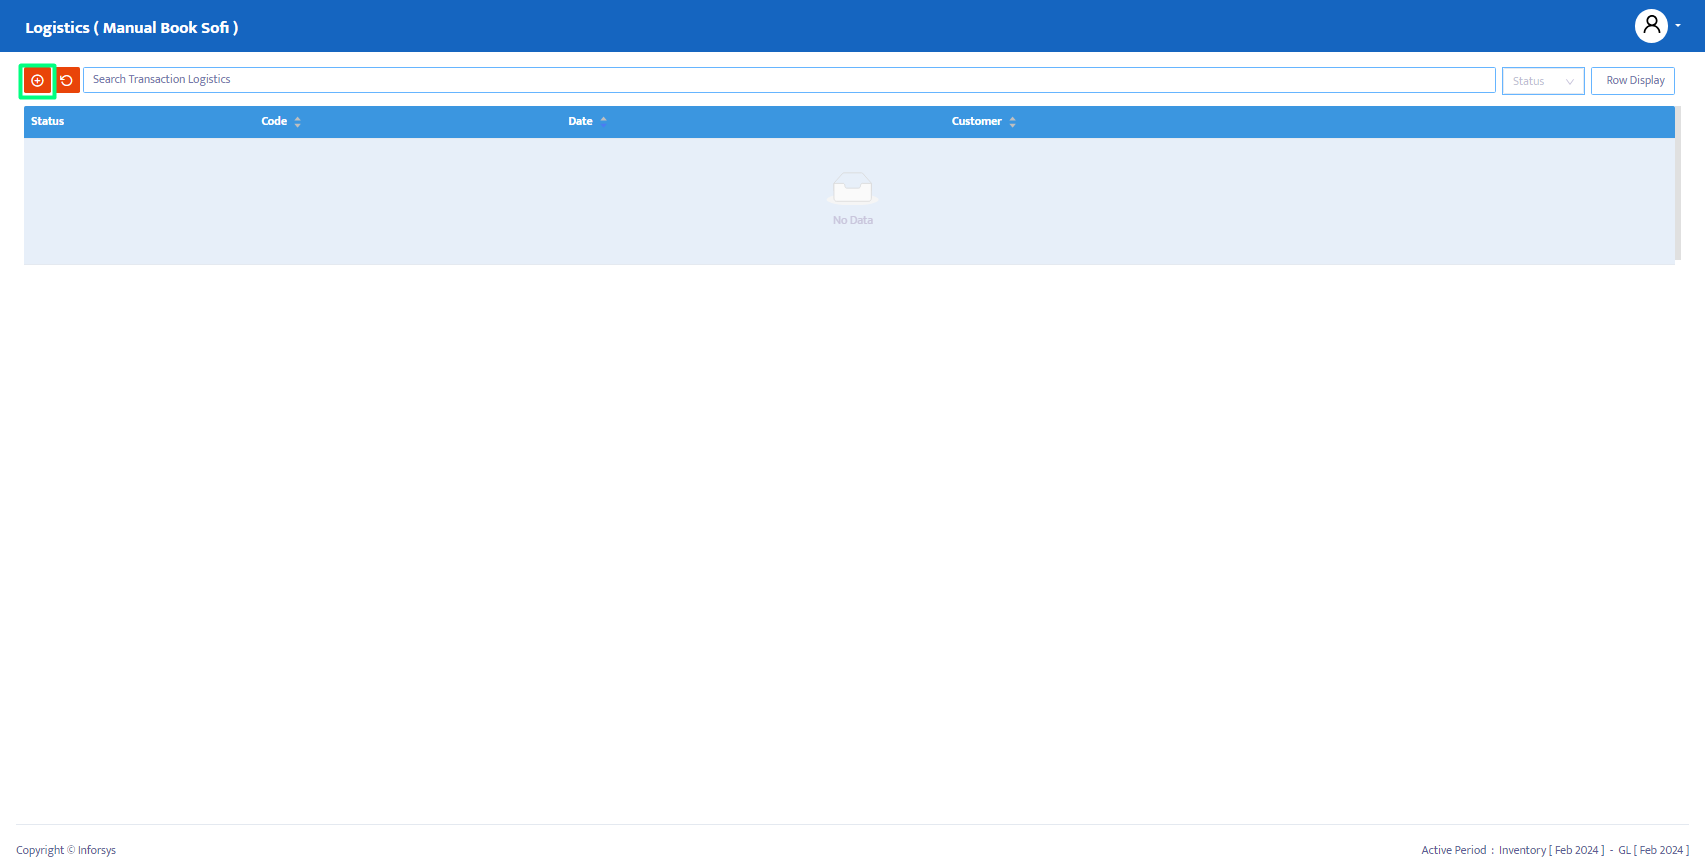
- Click the entry button to start filling in the Packing List Outgoing module, as shown in Figure 2:
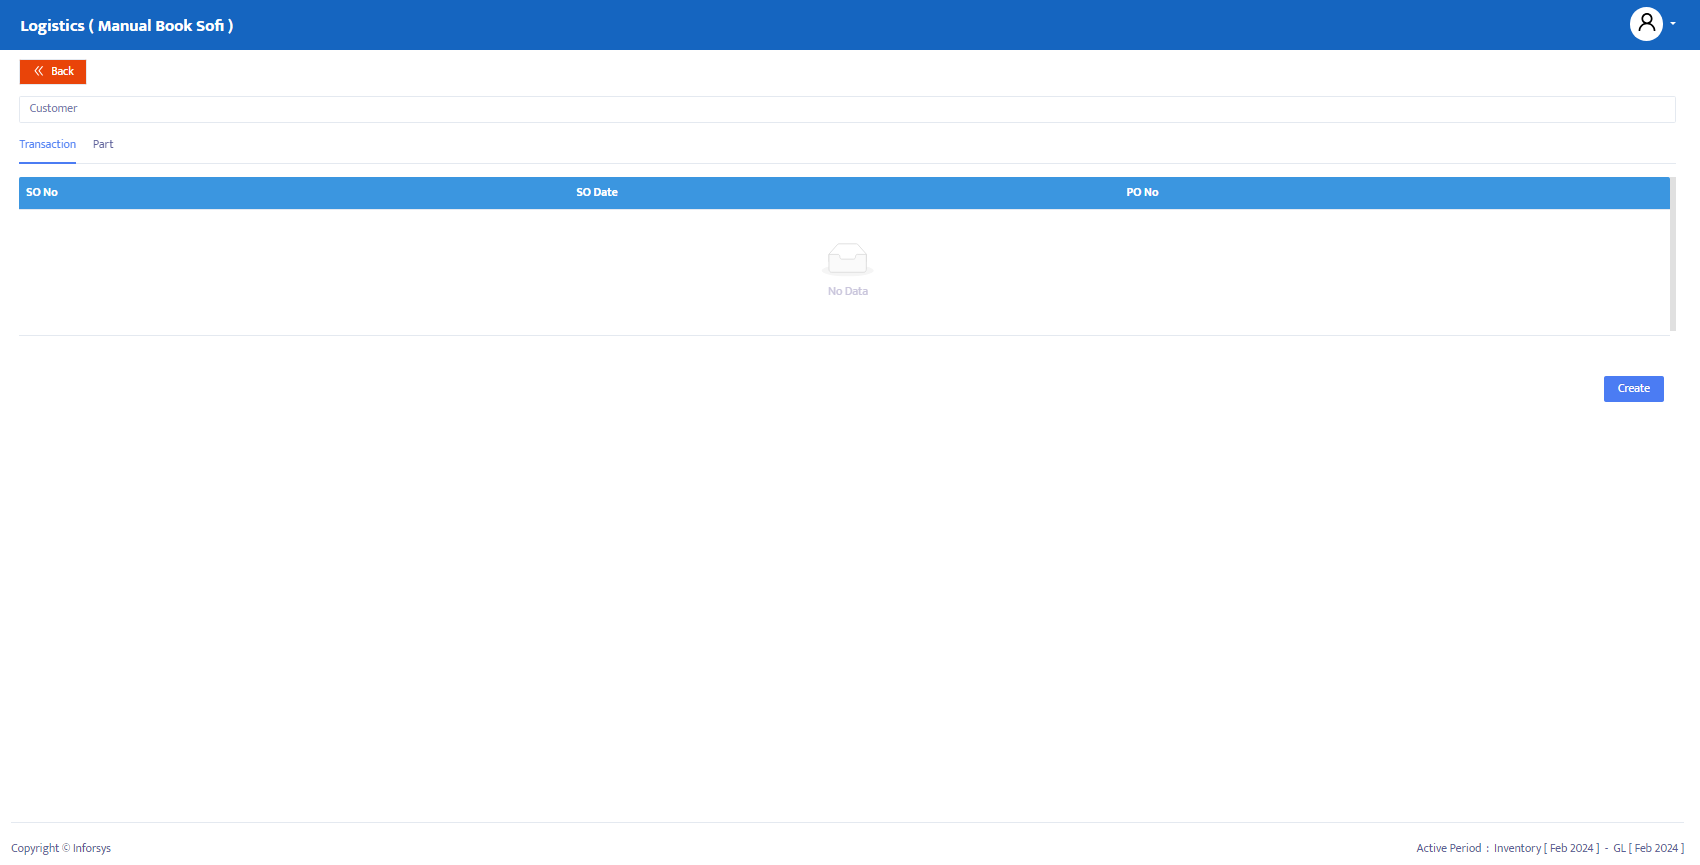
- The system will then display the add item form, as shown in Figure 3. Select the Sales Order Supplier data that you want to proceed with for the Packing List Outgoing transaction. The system will automatically transfer all the ordered product information into the Packing List Outgoing transaction. Delete products or edit quantities if needed. Click the Create button to create the Packing List Outgoing:
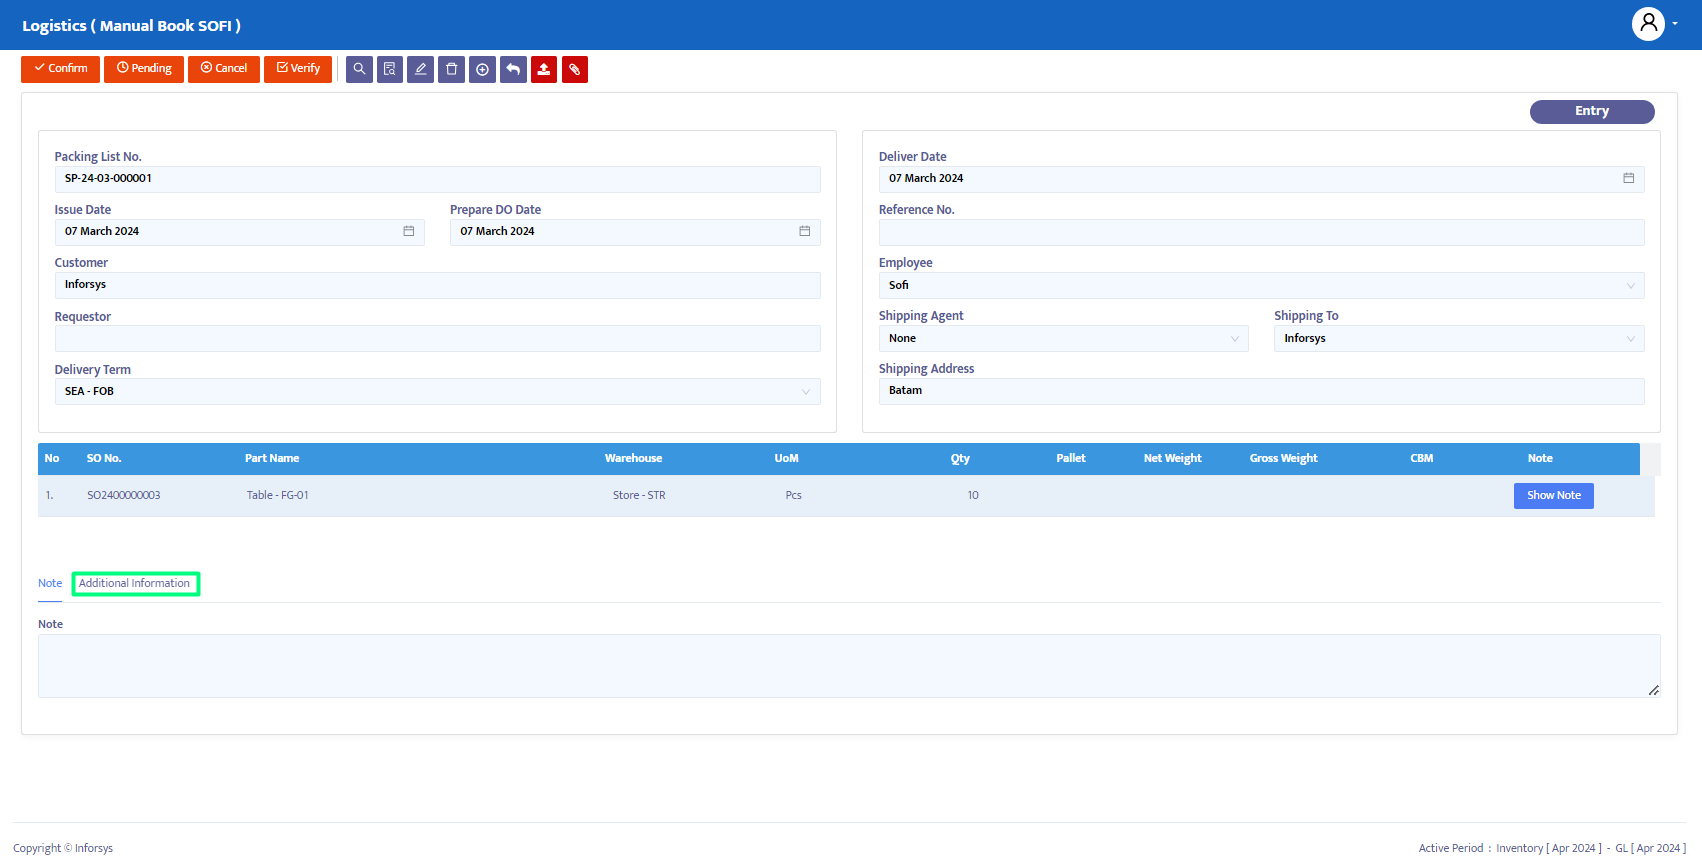
- After the Add Item process from the Sales Order transaction, the system will display the Sales Order transaction form, which now contains information from the selected SO, as shown in Figure 4:
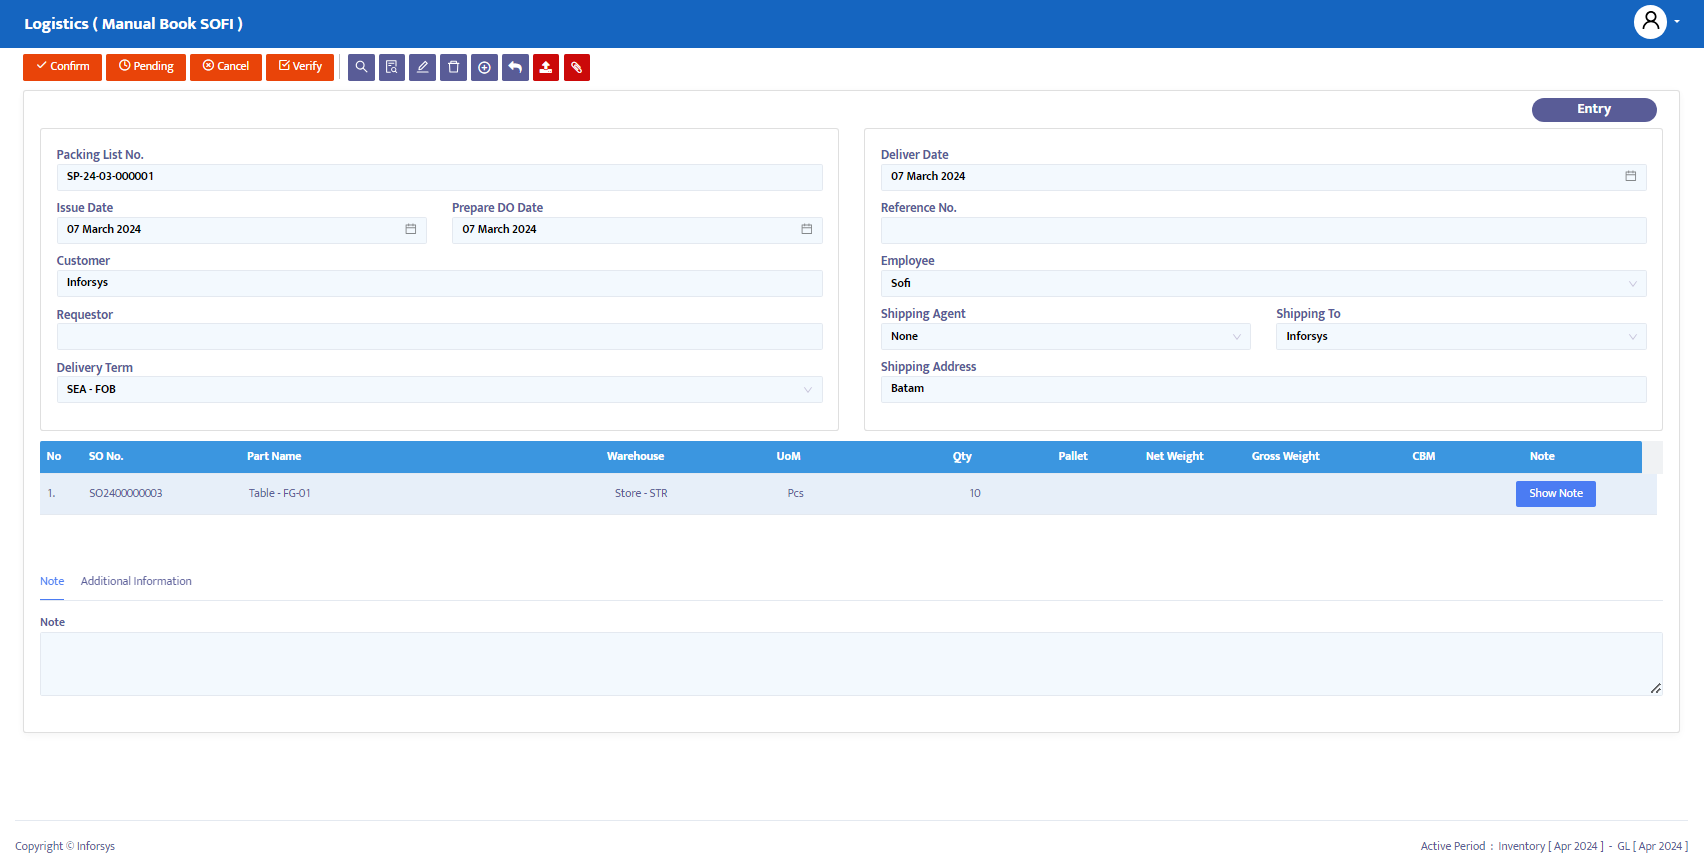
- Review the data to ensure accuracy. Below is a detailed explanation of the information in the Packing List Outgoing transaction:
DO Planning No.: The system will automatically generate a number, but you can edit it according to company standards.
Issue Date: The system will display the current date, but you can edit it as needed.
Prepare DO Date: Similar to the Issue Date, the system will provide the current date, but you can edit it as needed for Delivery Order preparation.
Customer: The system will display the previously selected customer name. You can change it if necessary.
Requestor: Enter the name of the contact person from the customer’s company related to the Sales Order document.
Delivery Term: Choose the delivery term for the transaction.
Delivery Date: The system will display the current date, but you can edit it as needed.
Reference No.: Enter a reference number for creating the Packing List Outgoing.
Employee: The system will display the person in charge of the shipment from the company.
Shipping Agent: Select the shipping agent for the transaction.
Shipping To: Select the shipping address.
Shipping Address: Enter the address where the buyer or receiver wants the order to be delivered.
- After completing the data, you can see the details column displaying the products taken from the previous SO transaction:
SO No.: Reference the SO number of the related product. A single Packing List Outgoing can record multiple SO numbers if needed.
Part Name/Product: Information about the selected product name.
Warehouse: Location of the warehouse where the product is stored.
UoM: Unit of Measure for the product.
Qty: The quantity of the product to be shipped. Make changes if necessary.
- After ensuring the accuracy of the product information, you can open the Additional Information column to add detailed information, as shown in Figure 5:
- After clicking the Additional Information button, the system will automatically display the columns you can fill in, as shown in Figure 6:
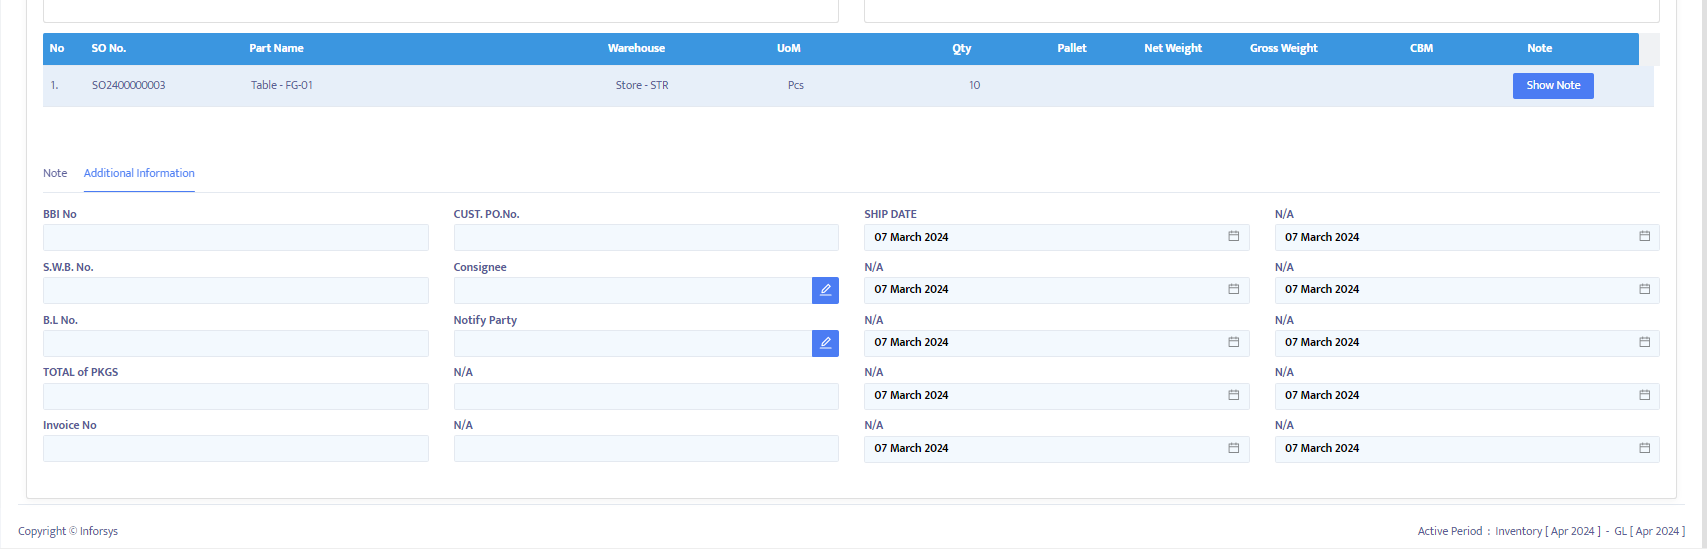
Here are the steps to fill in the Additional Information columns:
BBI No.: Enter the customs number provided.
S.W.B. No.: Enter the sea waybill number (shipping contract) provided.
B.L No.: Enter the Bill of Lading number (shipping contract) provided.
TOTAL of PKGS: Enter the total number of packages in the shipment.
Invoice No.: Enter the invoice number used by the customer.
CUST.PO.No: Enter the purchase order number used by the customer.
Consignee: Enter the alternate name of the receiver to be listed on the shipping documents.
Notify Party: Enter the name of the second party after the consignee who should be notified of the shipment and receipt of goods.
Ship Date: Enter the shipping date.
Once completed, click the Save button at the top of the transaction to save the data.
On the navigation button above, make the necessary changes to the transaction status. The options provided by the system are:
Entry: The process of registering transaction data into the system is ongoing. Data can still be edited and deleted in this status.
Confirm: The transaction data is confirmed in the system but not yet posted. Data cannot be edited in this status unless it is first changed to Revise status.
Running: The transaction data is posted in the system. This status is applied after Confirm. If you do not use the Running status, you cannot proceed to the next form (in this case, the Delivery Order form). As with Confirm status, to edit data, the Running status must first be changed to Revise status.
Revise: This status is used only to edit data but cannot delete/remove (all) transaction data on this form.
Pending: The transaction form is temporarily closed. If you continue to the Delivery Order form and set the Packing List Outgoing form to Pending, the Invoice and Receipt transactions will also be postponed.
Cancel: The transaction form is canceled and cannot be reopened.
Close: All transaction forms are closed and cannot be reopened.
Change the status from Entry to Confirm, then to Running to post the transaction. You can use the wizard function to proceed to the next form or manually add items in the next transaction, such as the Invoice.
To display and print the transaction document, click the preview button.